Coolaroo Outdoor Roller Shade Installation Instructions

Fillable Online Exterior Roller Sun Shade Installation Instructions Coolaroo Fax Email Print Pdffiller

Coolaroo Outdoor Shade Ceiling Mount Youtube
How To Make An Exterior Window Shade Coolaroo
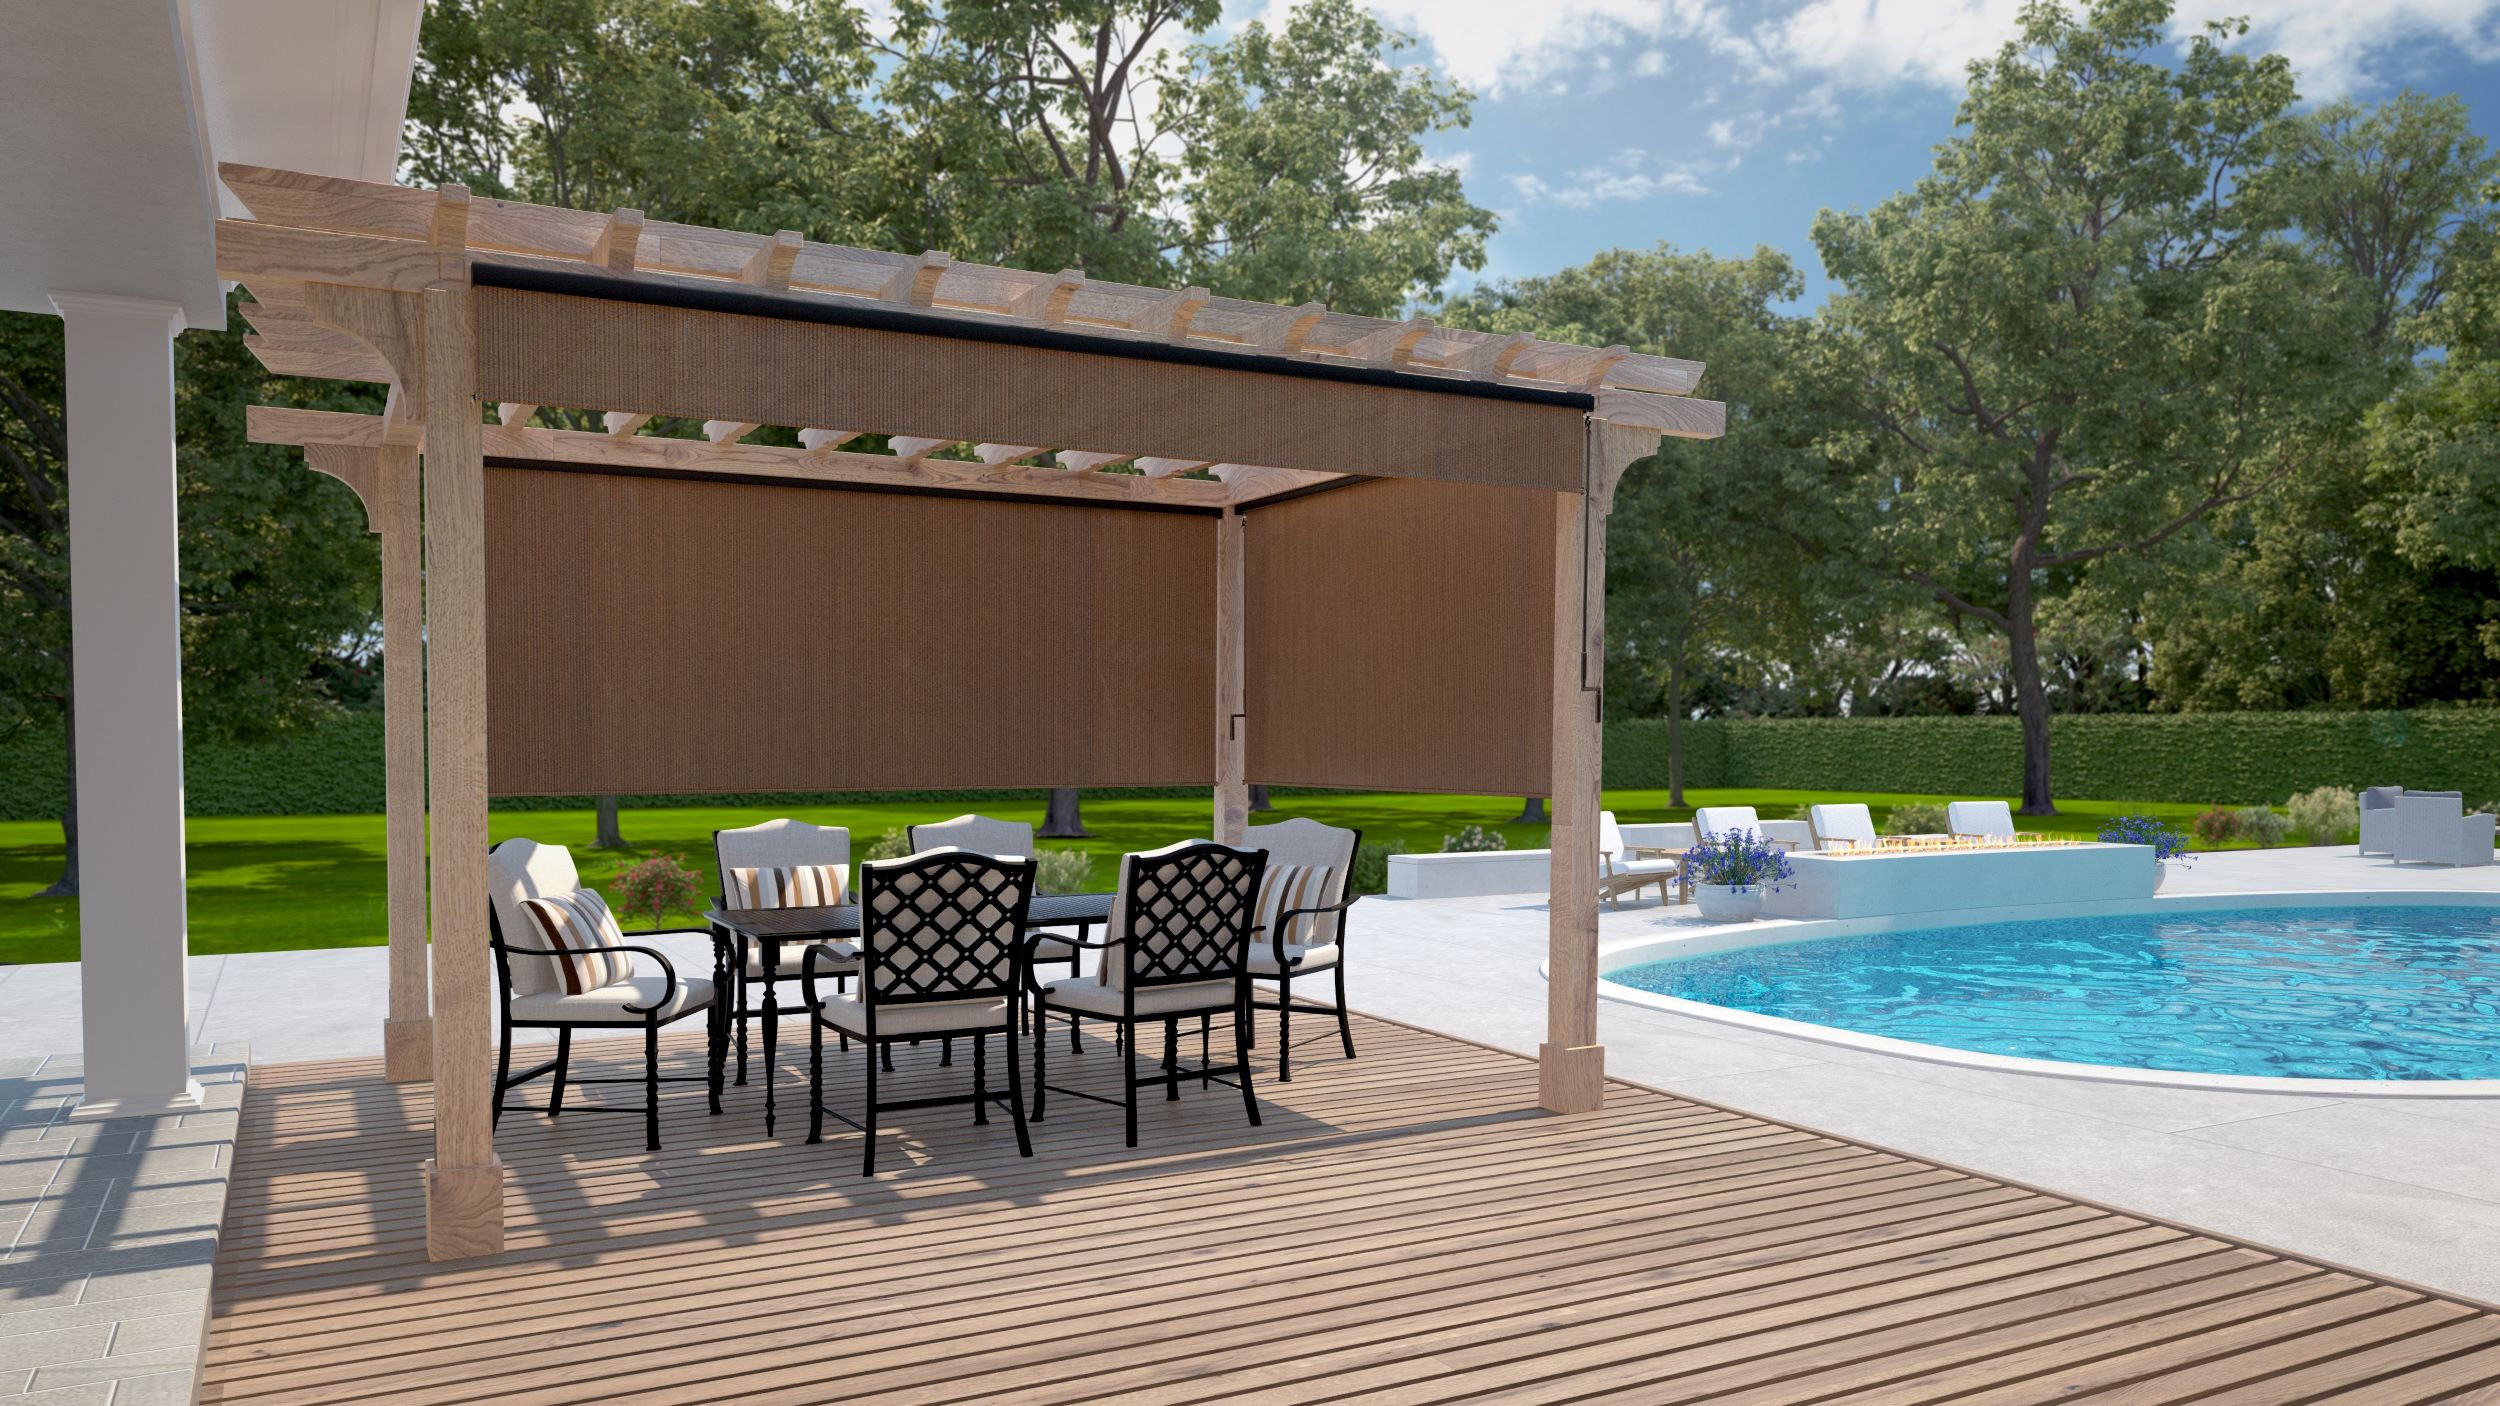
Simple Lift Outdoor Roller Shades Coolaroo
Wand Operated Outdoor Roller Shades With 95 Uv Block Coolaroo

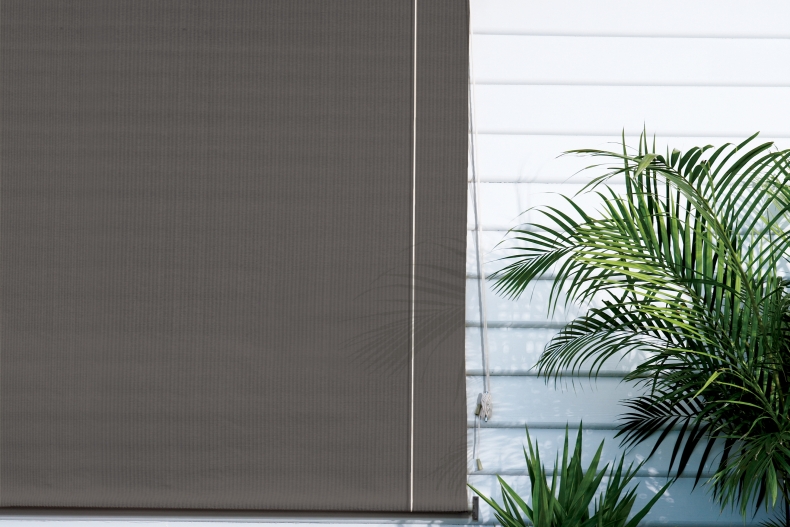
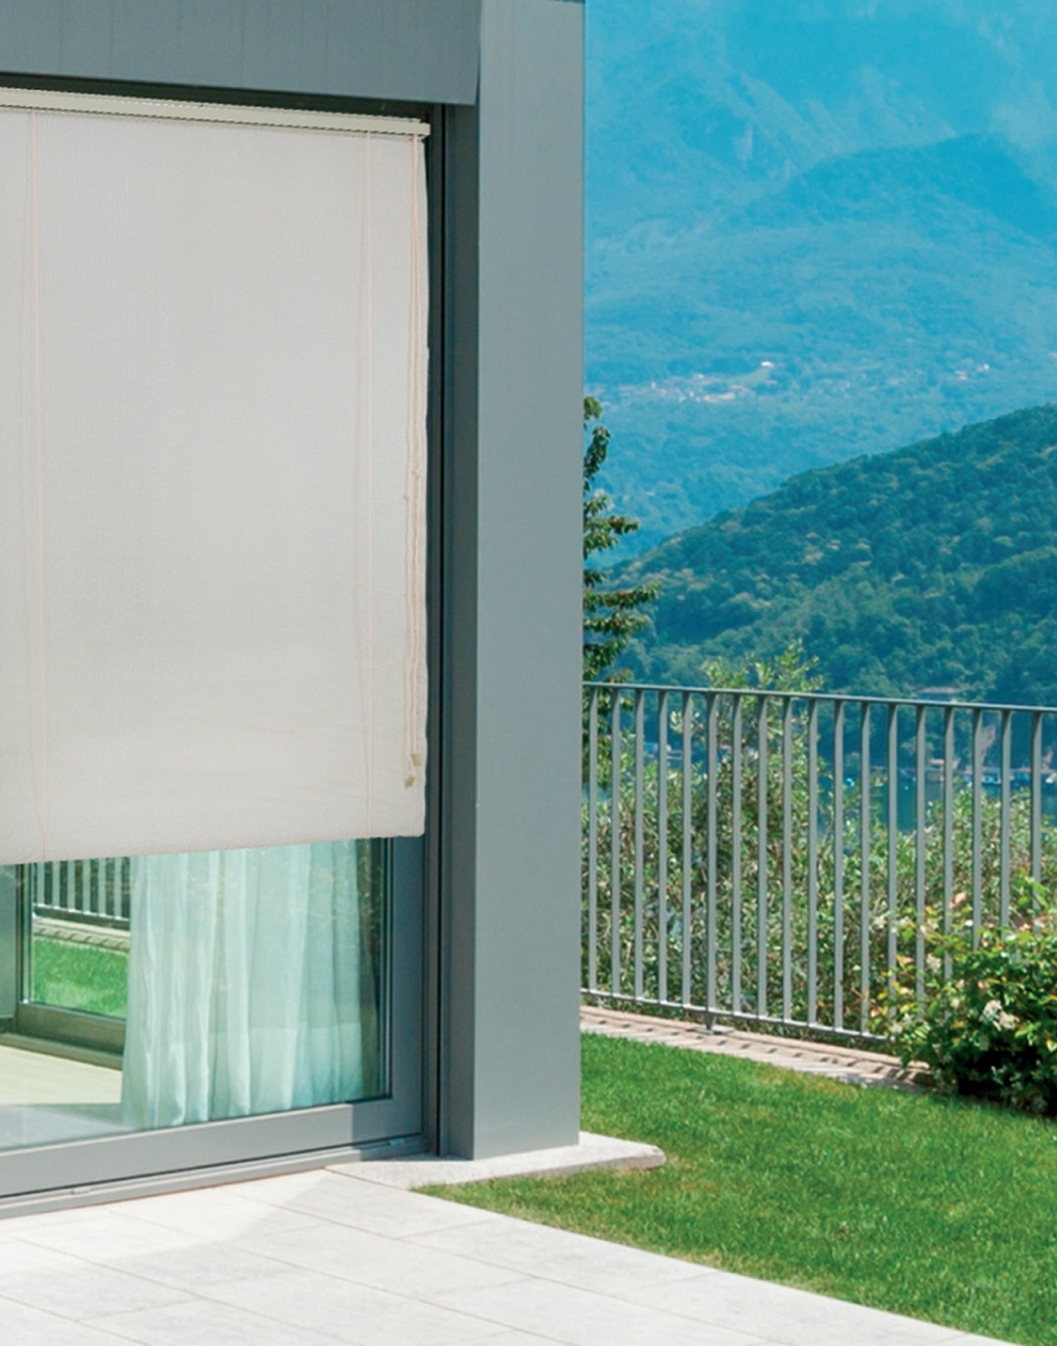
Outdoor Shades In 2020 Exterior Roller Shade Shades Blinds Patio Blinds
Installing coolaroo blinds shades quick install tips be sure to open and inspect your product upon receipt to ensure you have all necessary hardware and parts before you install or before you arrange for a professional install appointment.
Coolaroo outdoor roller shade installation instructions.
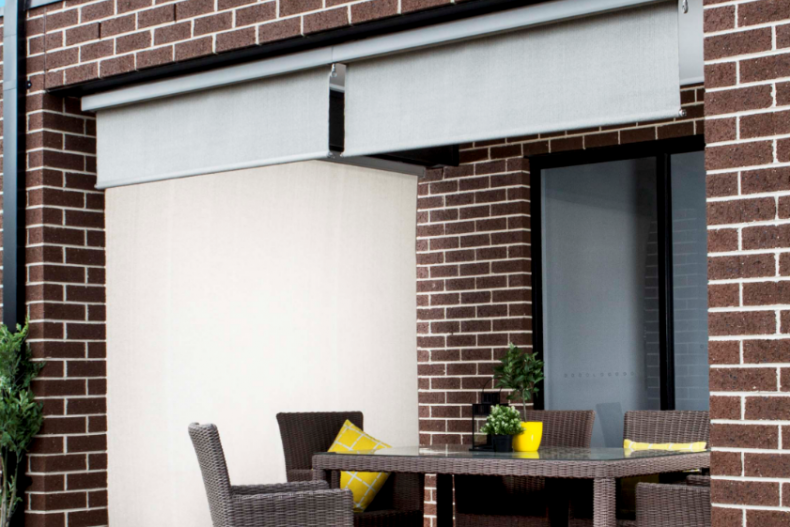
How To Install A Premium Pelmet Exterior Blind Coolaroo

Coolaroo Semi Sheer Roller Shade Reviews Wayfair Ca
Wand Operated Outdoor Roller Shades Coolaroo
Easy To Follow Instruction Manuals Coolaroo

How To Set Up Your Coolaroo Easy Release Outdoor Roller Shades Youtube

Coolaroo Spring Operated Roller Shades Assembly Guide Youtube
Coolaroo Outdoor Roller Shade Reviews Wayfair

Coolaroo Outdoor Crank Roller Shade With 95 Uv Protection 10 Ft X8 Ft Pewter The Home Depot Canada

Installing Coolaroo Sunshades Wth Southern California Patios Youtube
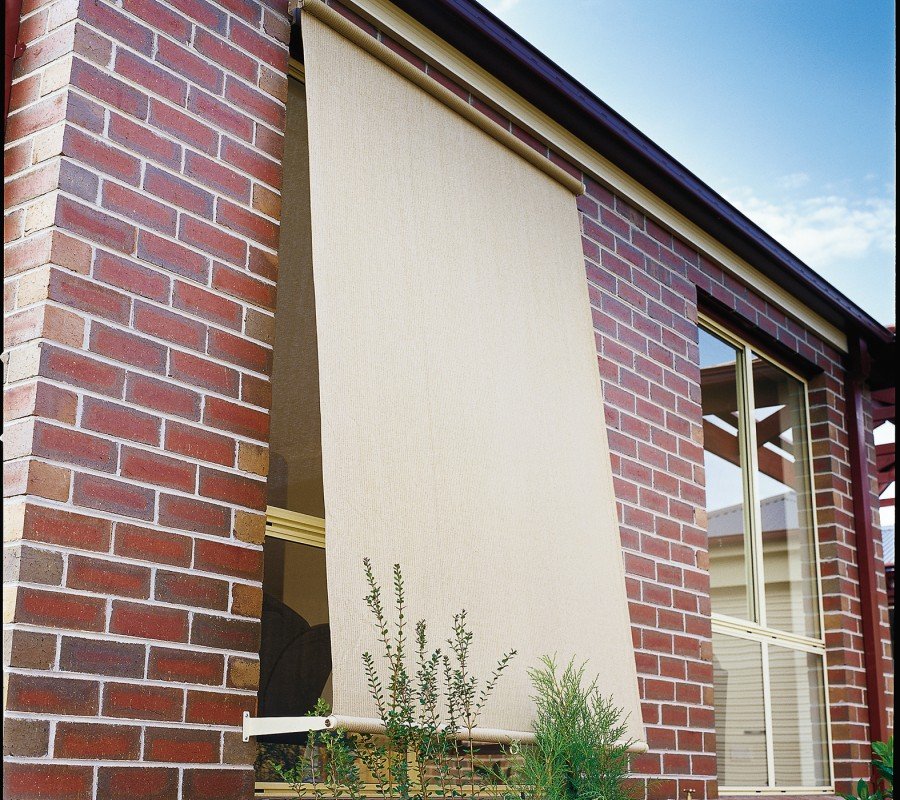
Exterior Roll Up Blinds Coolaroo

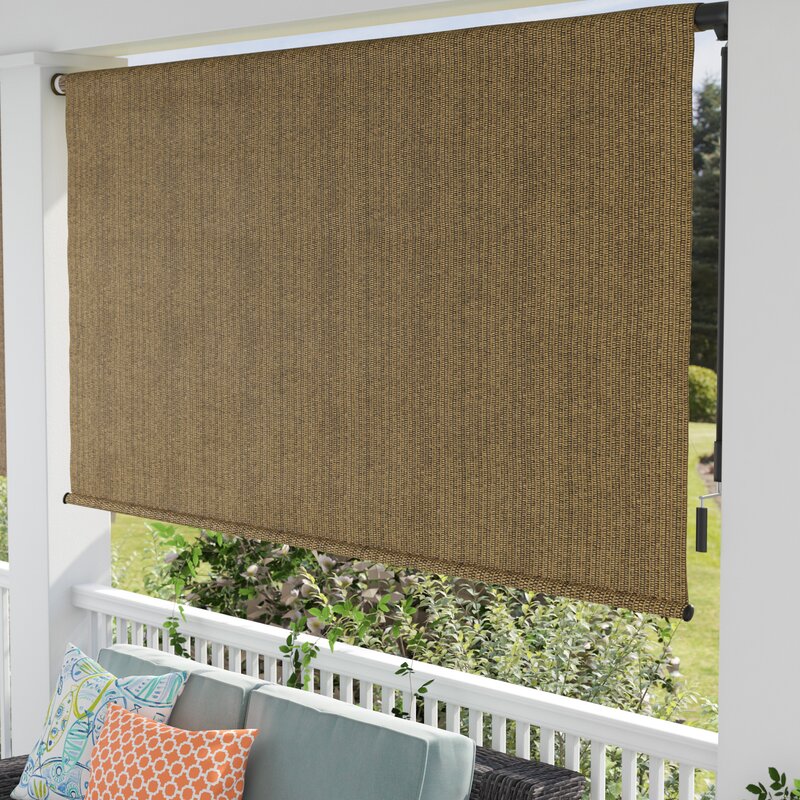
Coolaroo Exterior Roller Shade 8 By 6 Feet Sesame Amazon Ca Patio Lawn Garden

Amazon Com Coolaroo Premier Window Sun Shade 6 Feet Wide By 6 Feet High Desert Sand Patio Lawn Garden Window Sun Shades Roller Shades Cheap Blinds
Coolaroo Outdoor Crank Roller Shade With 95 Uv Protection 6 Ft X8 Ft Pewter The Home Depot Canada

Amazon Com Coolaroo 474829 Outdoor Roller Shade 6 W X 8 L Pebble Garden Outdoor

Coolaroo Walnut Cordless Light Filtering Fade Resistant Fabric Exterior Roller Shade 120 In W X 96 In L 460082 The Home Depot In 2020 Patio Sun Shades Porch Shades Outdoor Shade

How To Remove Coolaroo Exterior Sun Shades Youtube

Coolaroo Full Valance Installation Wall Mount Youtube

Coolaroo Exterior Cordless Roller Shade 8ft By 6ft Almond Amazon Ca Patio Lawn Garden
3
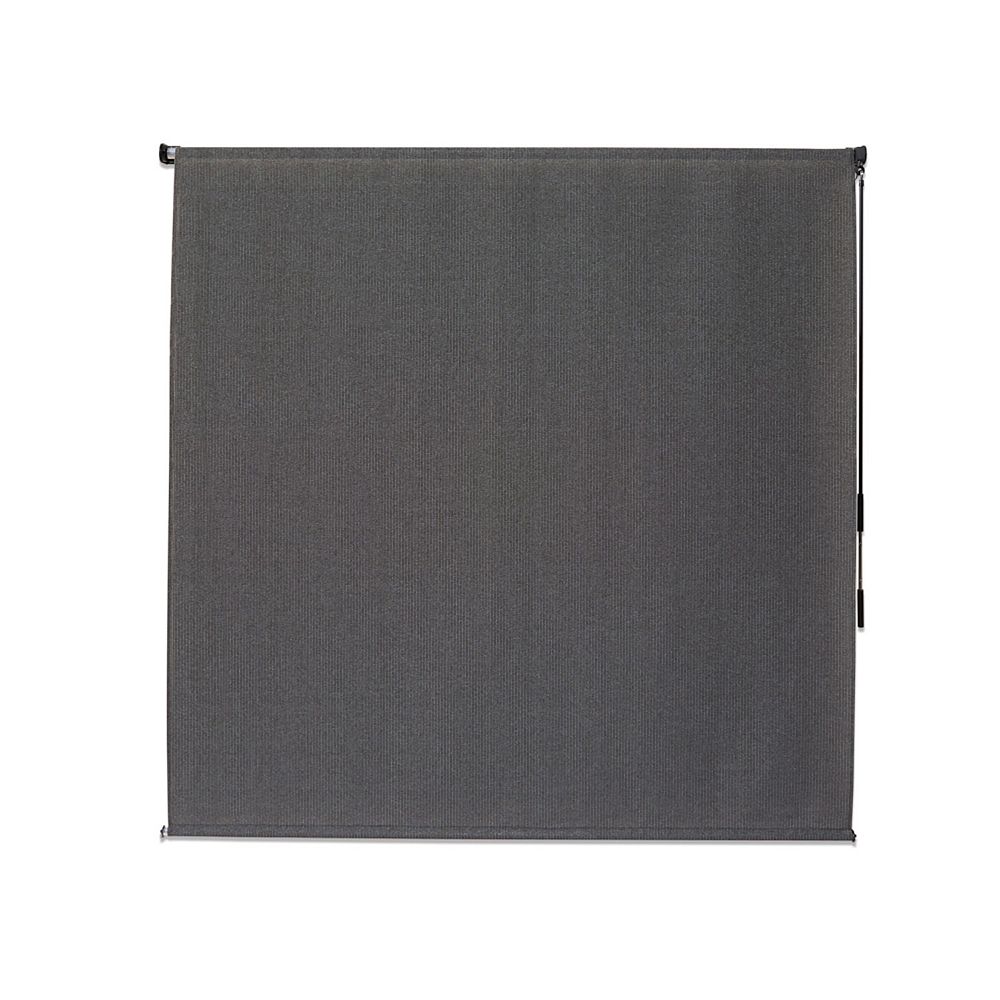
Beaded Chain Outdoor Shades Shades The Home Depot

Shop Coolaroo Mocha Light Filtering Cordless High Density Polyethylene Exterior Shade Common 120 In Actua Exterior Shades Exterior Roller Shade Roller Shades
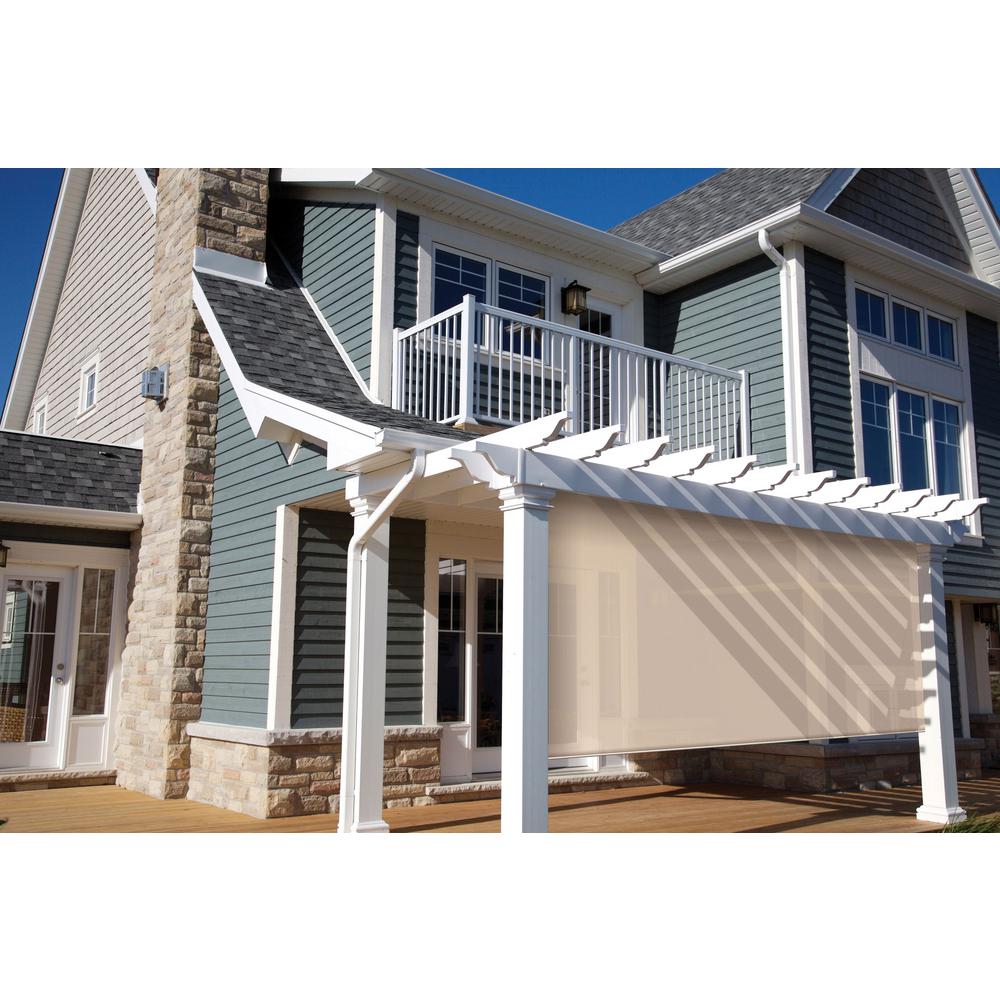
Exterior Retractable Blinds Coolaroo
_536_391_c1.jpg)
Replacement Parts For Roller Shades Pet Beds And Sun Sails Coolaroo

Outdoor Roller Shade In 2020 Curtains Home Shades
Source : pinterest.com
