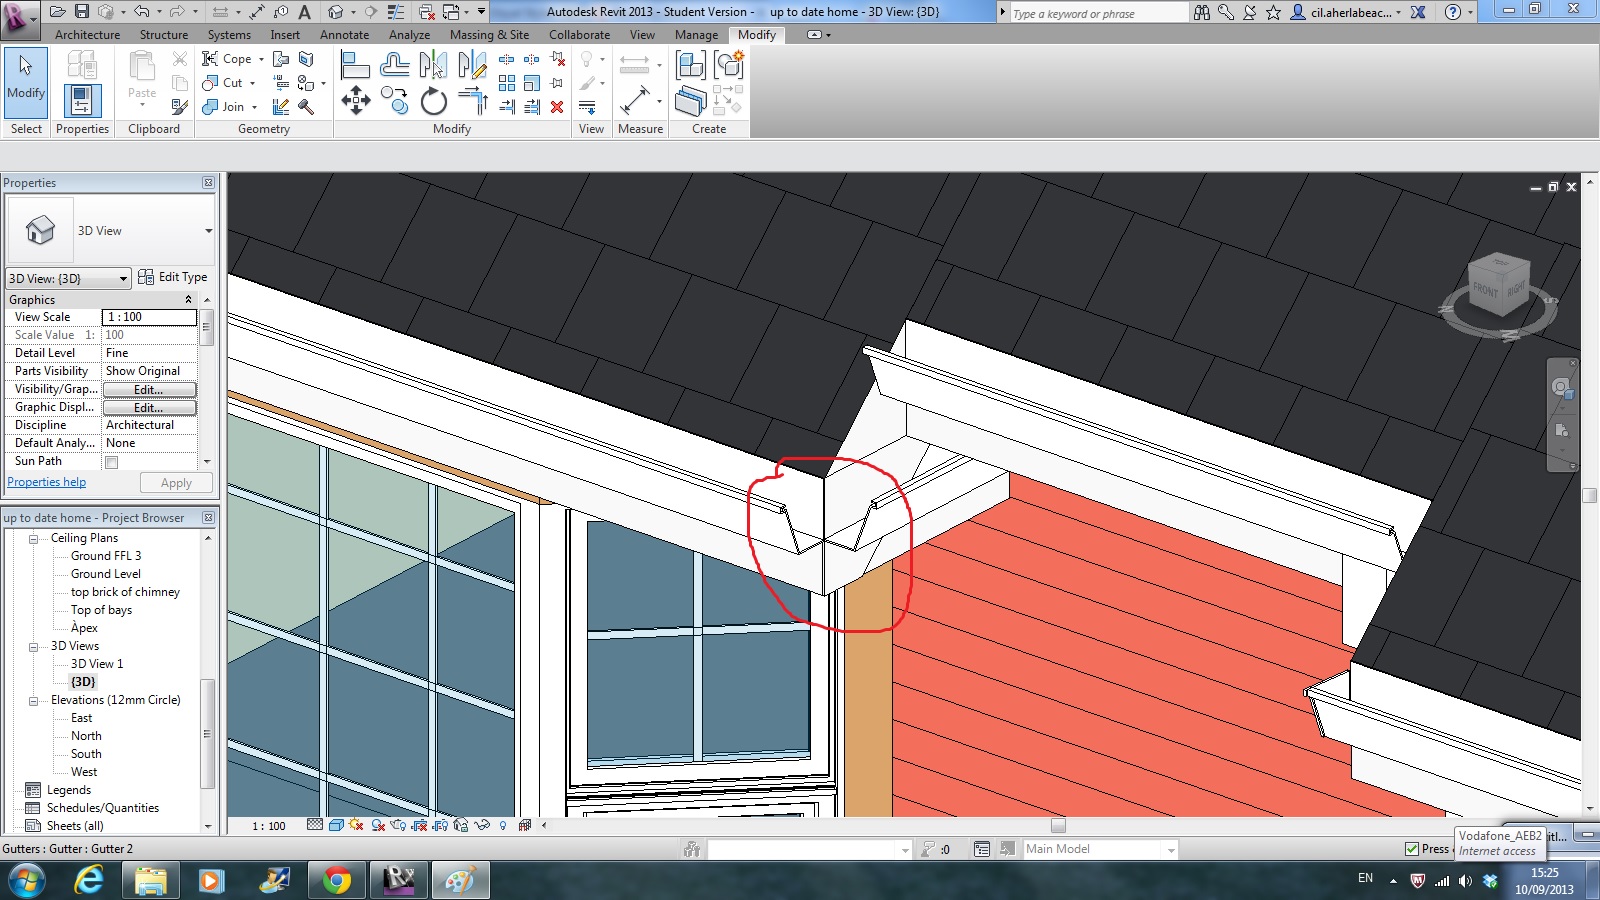
Connecting Gutters In Revit
Revitcity Com Connecting Gutters

Gutters With Slope Autodesk Community
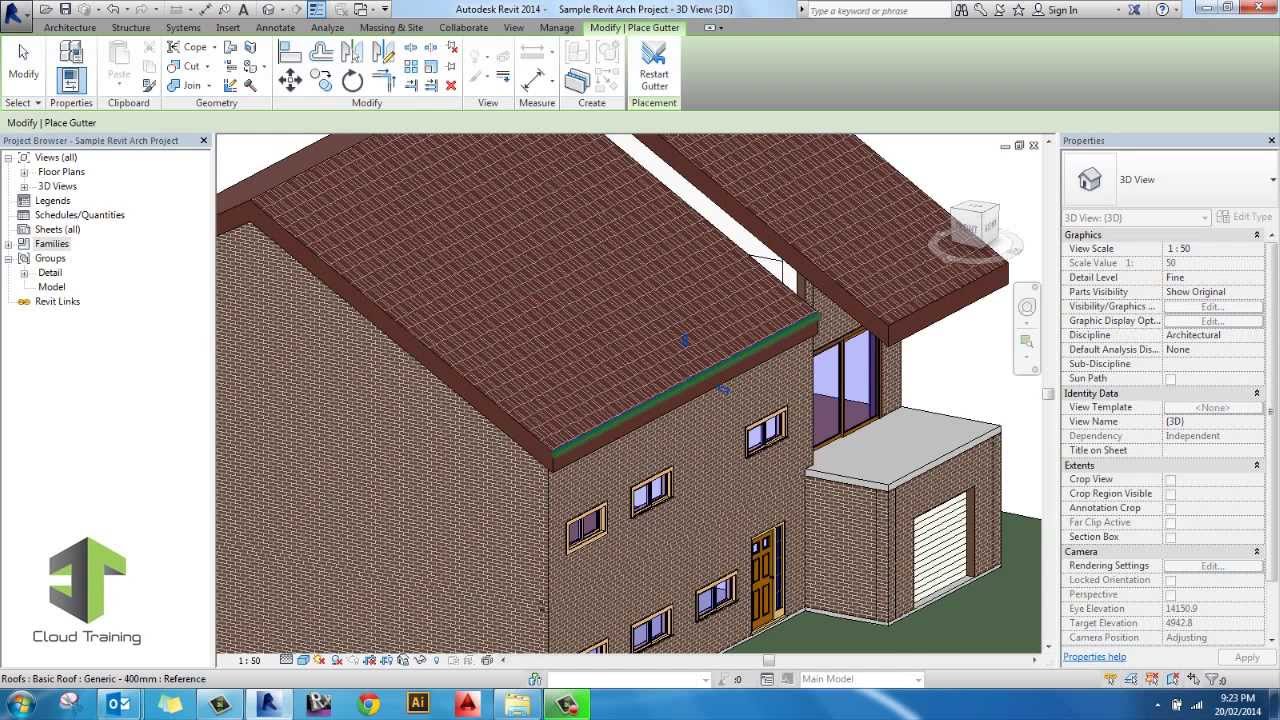
Solved Model Roof Gutter Autodesk Community Revit Products

Gutter End Caps In Revit Architecture Youtube

Revit Families Series Custom Gutter Profile A How To Guide Youtube

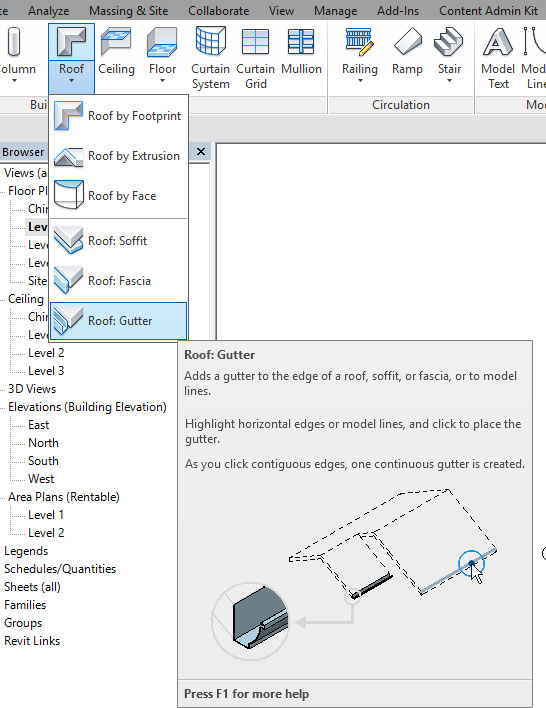
Work With Gutters Revit Products 2016 Autodesk Knowledge Network

When you press tab revit cycles through available selections and then highlights the chain of edges.
Connecting gutters in revit.

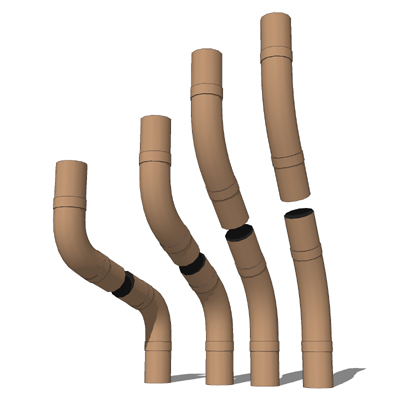
3 04 Down Pipes Youtube

Add A Gutter Revit Products 2019 Autodesk Knowledge Network

Roof Soffits Facias And Gutters In Revit Youtube

Roofs In Revit 8020 Bim

Gutter Downspout In Revit Tutorial Youtube

Gutters Revit Products 2019 Autodesk Knowledge Network
Interior Gutter And Wooden Roof

Create 8020 Bim
Gutters
Revitcity Com Gutter But What About Gutter Downpipe
7 Inch Box Gutter Drexel Metals Inc Free Bim Object For Revit Bimobject

How To Add Roof Truss Underneath Roof In Revit Youtube

Wall Floor Connection In Revit Tutorial Youtube

Revit Families Series Custom Gutter Profile How To Revit Products Autodesk Knowledge Network
Video Create A Dormer Revit Products 2019 Autodesk Knowledge Network

Solved How To Place A Gutter On A Sloping Roof Edge Autodesk Community Revit Products

Structural Steel Connections In Revit 2017 And Advance Steel 2017 Canopy Meaning Portable Gazebo Beams

Solved Downspouts Autodesk Community Revit Products
Https Encrypted Tbn0 Gstatic Com Images Q Tbn 3aand9gcqor2isbxwlbhwpl3uftobkksbmzfomx Aabdptf0 9yvkdig2p Usqp Cau

How To Model A Gutter On A Sloping Roof Edge Revit
Rectangular Gutter System 140 Lindab Free Bim Object For Revit Revit Revit Revit Bimobject

About Streets And Sidewalks Revit Products 2019 Autodesk Knowledge Network
Nvent Raychem Icestop Heating Cable For Roof Gutter Deicing North America Nvent Free Bim Object For Revit Revit Revit Revit Revit Revit Revit Revit Revit Bimobject
Rectangular Gutter 140 Lindab Free Bim Object For Revit Bimobject
Source : pinterest.com
